If your institution is using LabOrders to manage the Timesheets needed for projects reporting, you can fill your timesheet for a given month and submit it for approval with the following easy steps.
1) Go to menu Projects > Timesheet calendar.
2) You will see a calendar view of the current month. You can use the navigation arrows on top of the calendar to change to the required month.

The calendar view will already include weekends and days your institution is closed. The calendar may also include your planned vacation days or the hours you were teaching during the month, if your institution is using those LabOrders functionalities.
3) To add an entry to the calendar, click on a date. You will be shown the Add entry form.
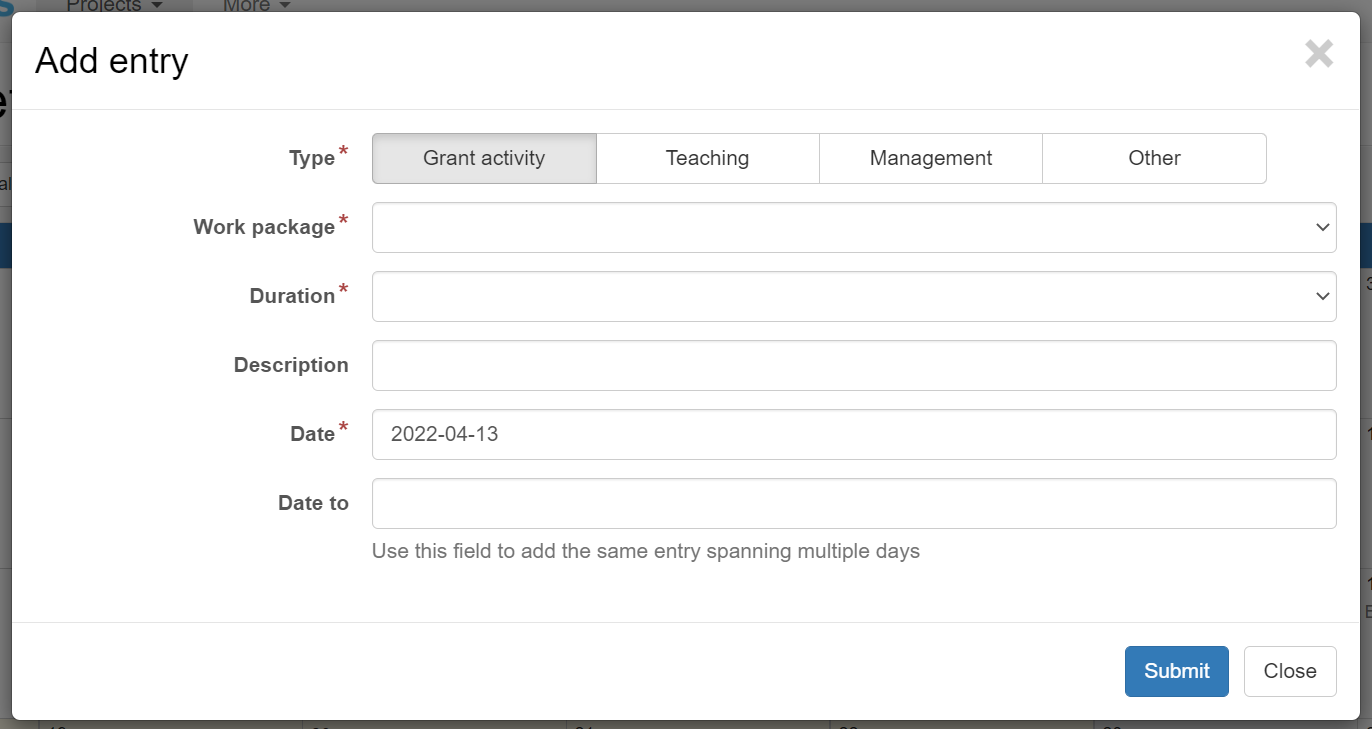
⭐ Tip: If you select a start and end date LabOrders will automatically jump over the weekends and other non-workable days and fill the entries across the two dates for you.
4) At the bottom of the calendar you will be shown the total hours you have reported for each work package.

⭐ Tip: If your Project Manager is using LabOrders to manage the execution of your project, you will also be shown the planned allocation for the month, as well as the cumulative planned value since the project started.
⭐ Tip: If your institution has opted for this functionality, you will also be able to click the Auto-fill button to pre-fill the entries on the calendar based on the planned information. You can then easily edit the calendar to account for what has happened in reality.
5) Once you have completed the Timesheet you can submit it for approval by clicking the Request approval button on the top of the calendar.

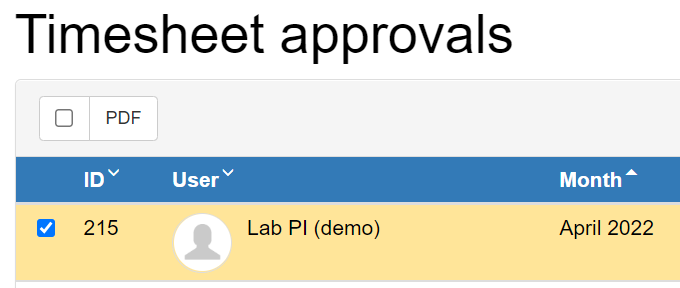
⭐ Tip: Your are probably used to a different format for your Timesheets. Don't worry. LabOrders will automatically convert the information on your Timesheet calendar to your institution's template, further down the approval workflow, when it is required. You can see this end result, by going to Projects > Timesheets approvals, selecting the Timesheet you are interested in and clicking the PDF button.